
WADesk New User Getting Started — Download, Install, Register, Log In & First Use
Getting Started for New Users
Navigation Path: Download Desktop Client → Log into WADesk account → Add WhatsApp account → Start using
Follow these steps to complete the initial setup and get started with WADesk.
📹 Video Tutorial (approx. 5 min) Follow along with the video, or read the illustrated steps below directly.
Download and Install the Desktop Client
Go to the WADesk download page (https://wadesk.io/download), select the version matching your OS, click to download the installer, and install it on your computer.
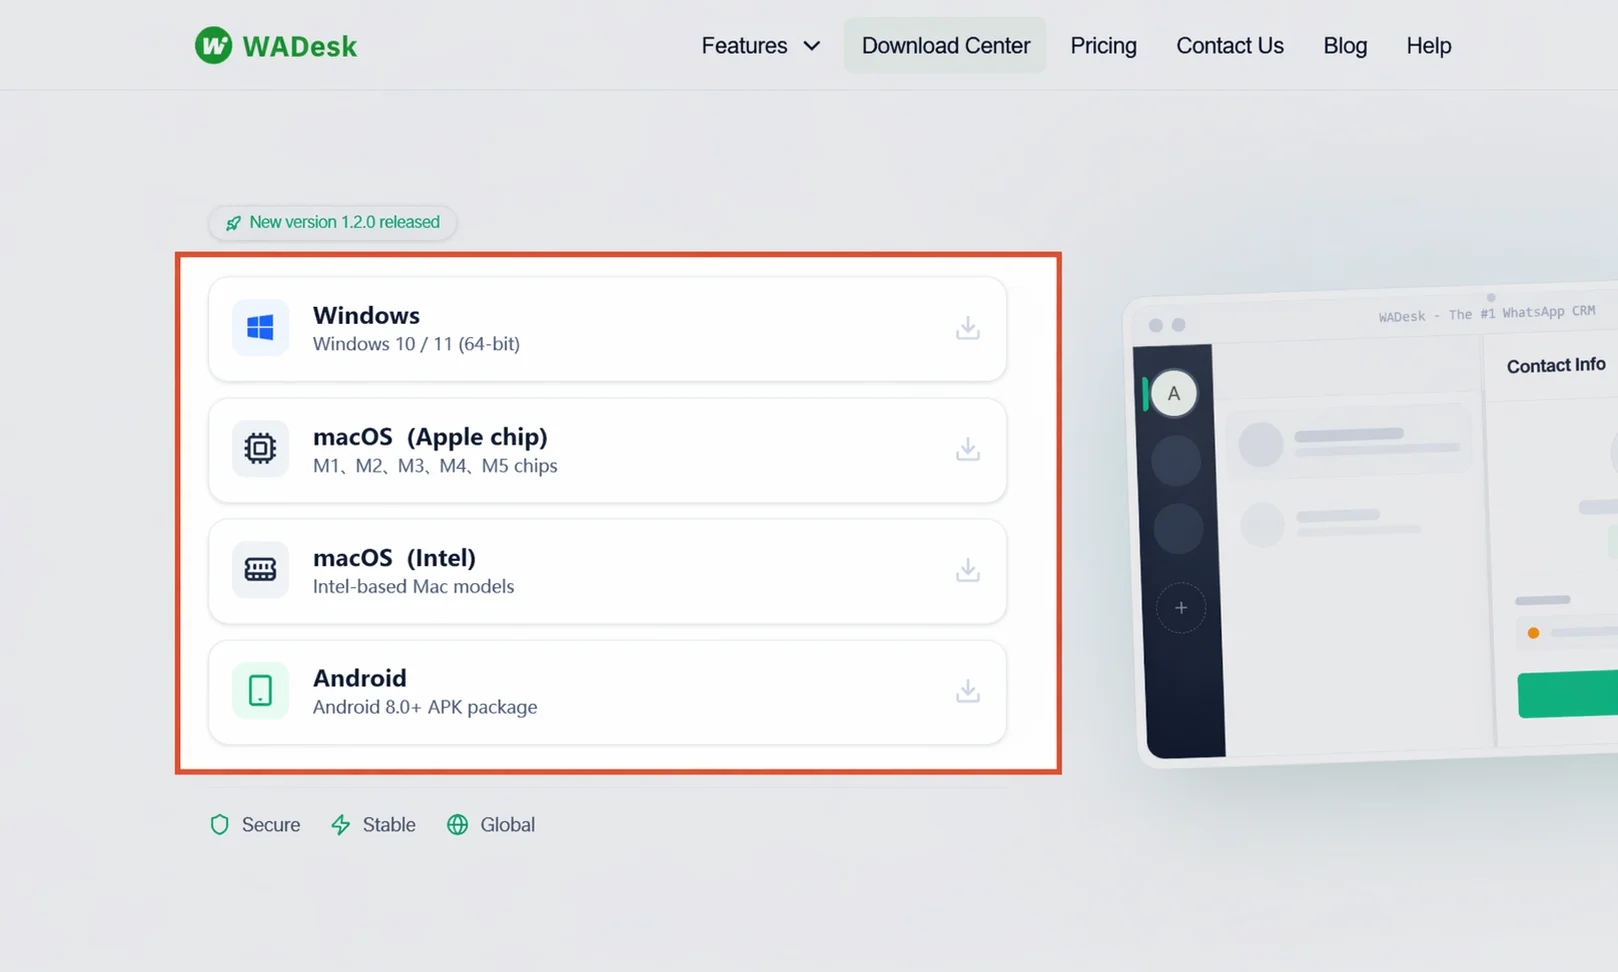
At the bottom of the page there is an FAQ Before Download & Installation section — refer to it if you encounter installation issues.
Register and Log into Your Account
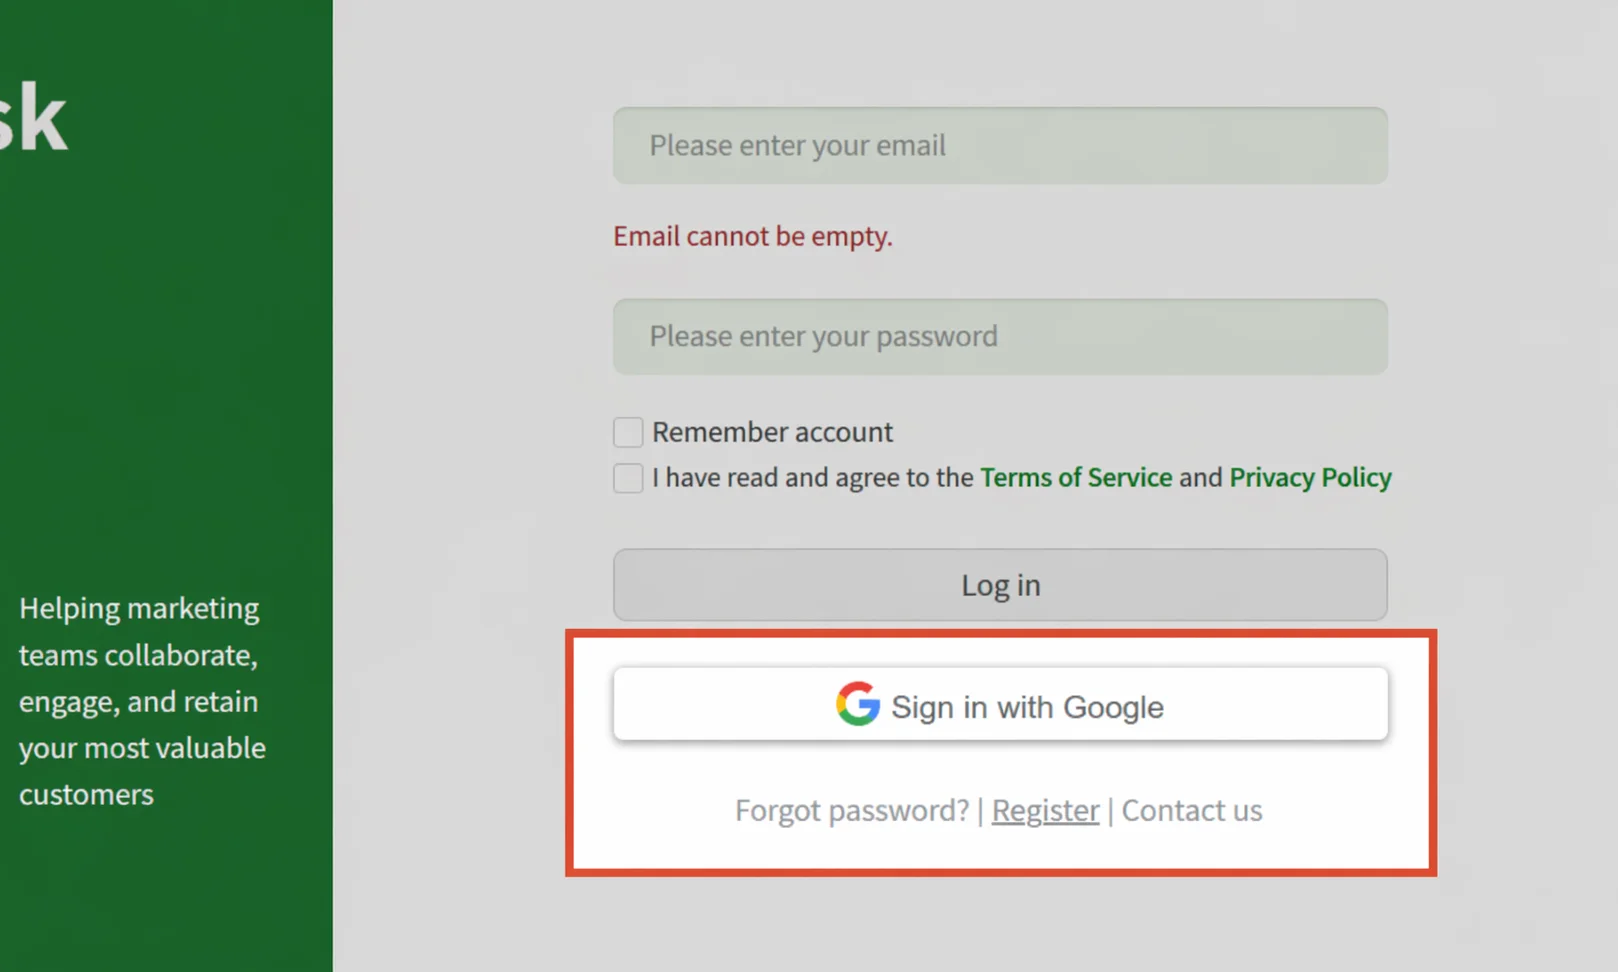
On first use, you need to register a WADesk account. After opening the Desktop Client, if you have a Google email, click Sign in with Google; otherwise, you can register with another email (Outlook is not recommended).
Change Your WADesk Account Password
Go to the official website home page (https://wadesk.io/).
Click Log In in the top right, click your account name, and enter Personal Center.
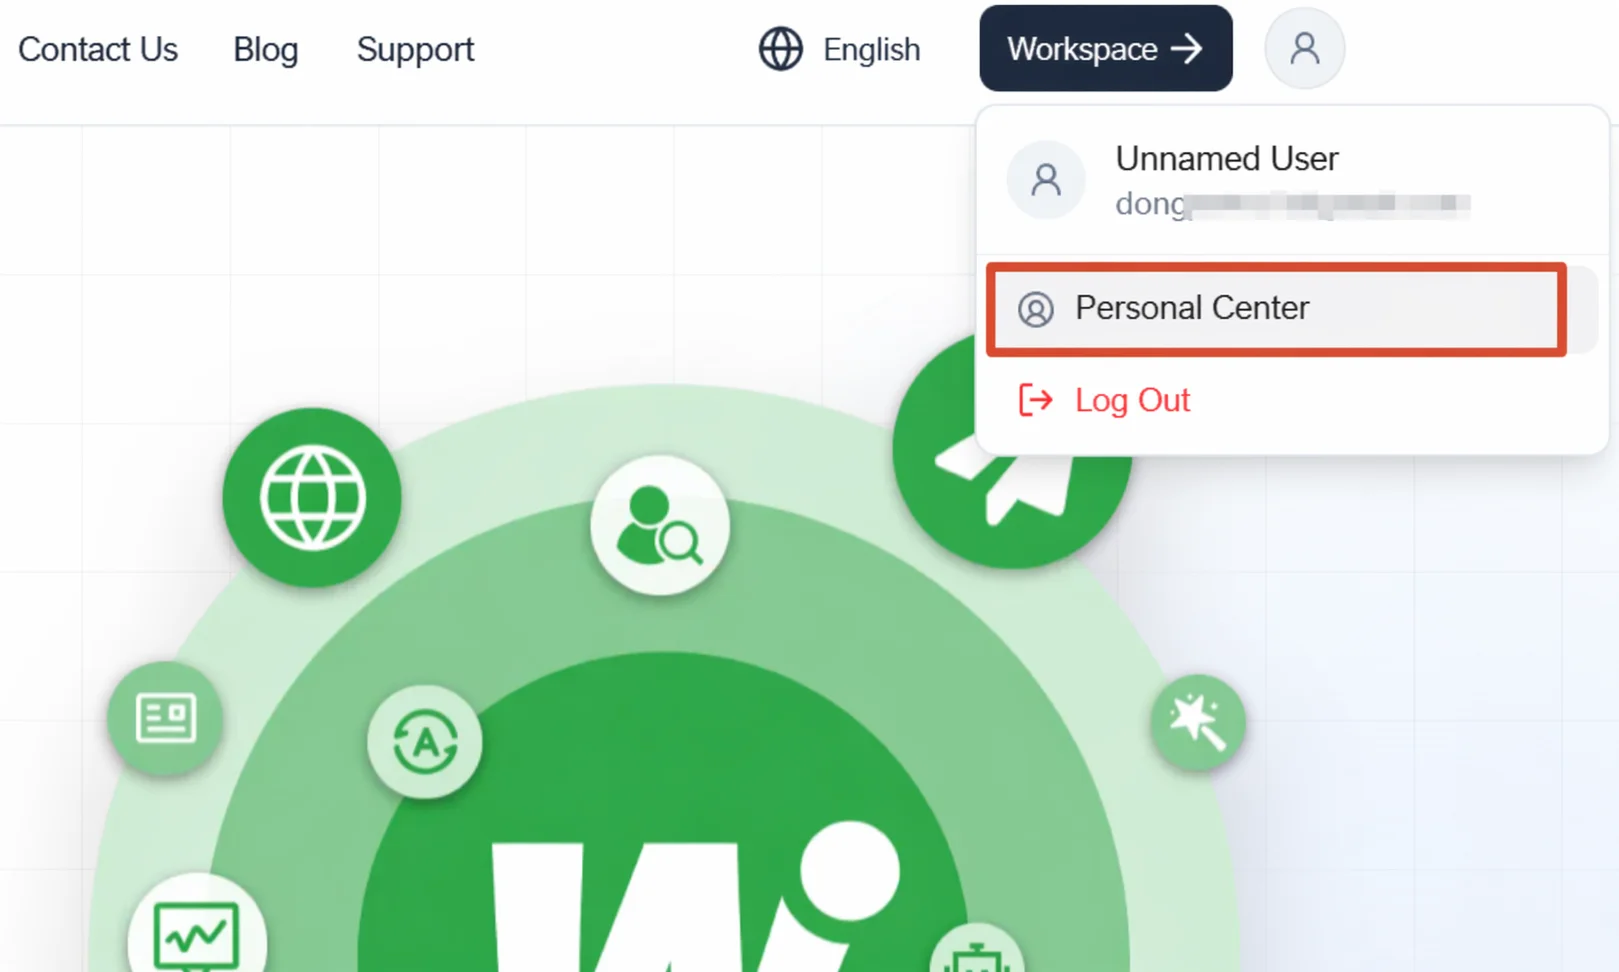
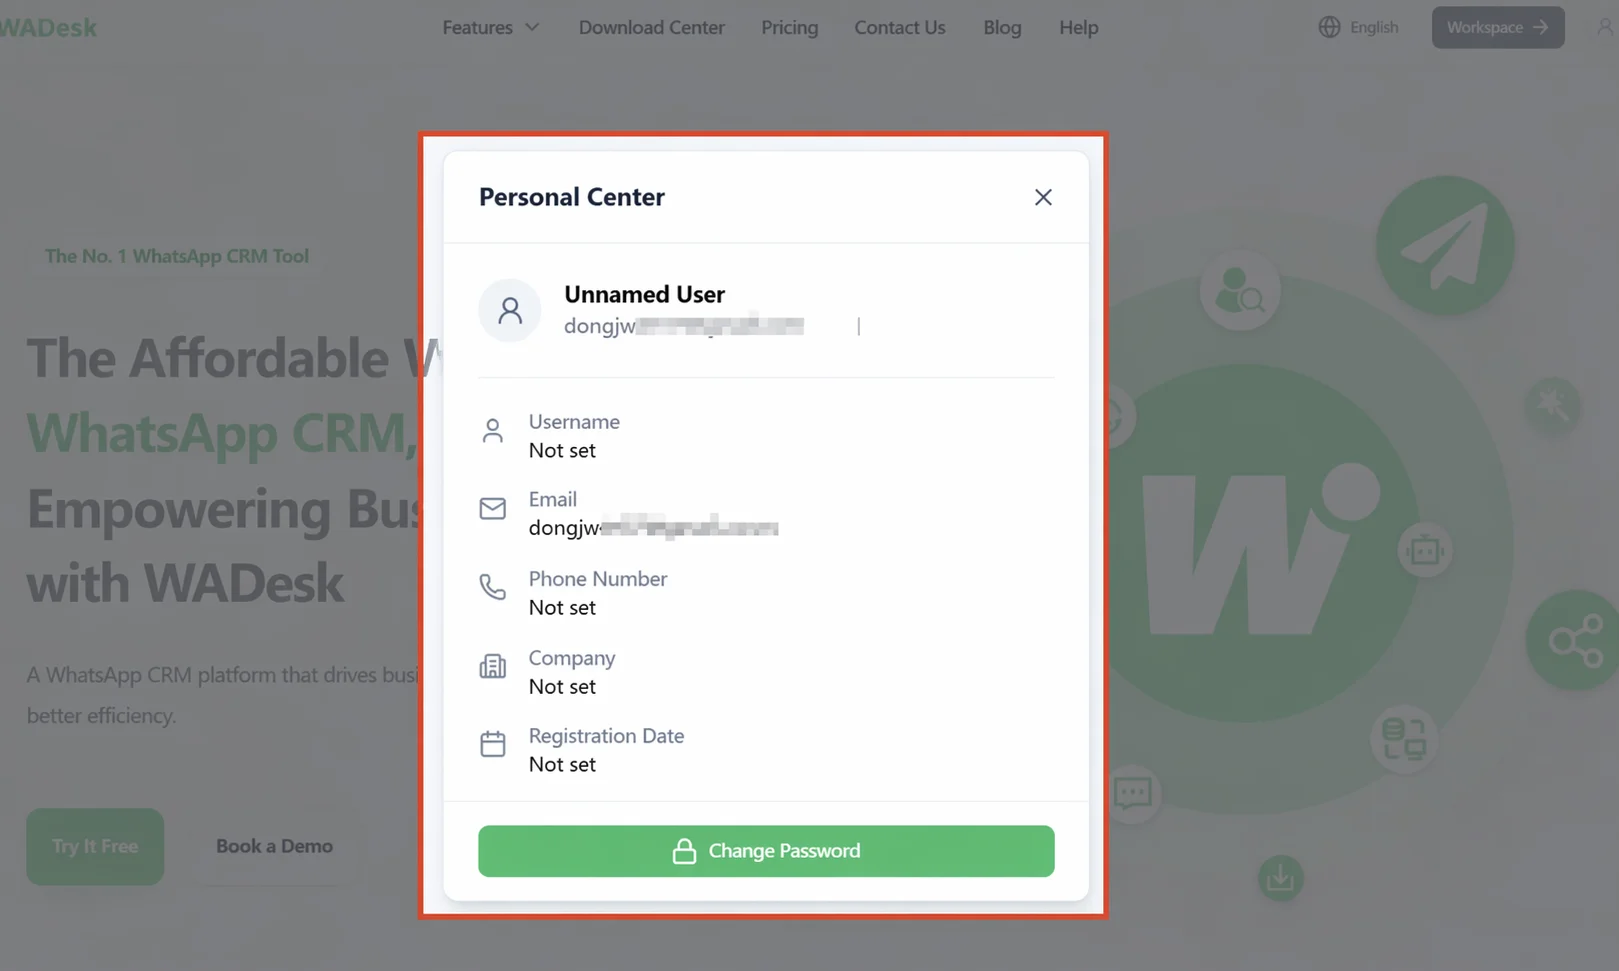
Click Change Password.
Interface Overview
The WADesk Desktop Client interface is divided into three areas:
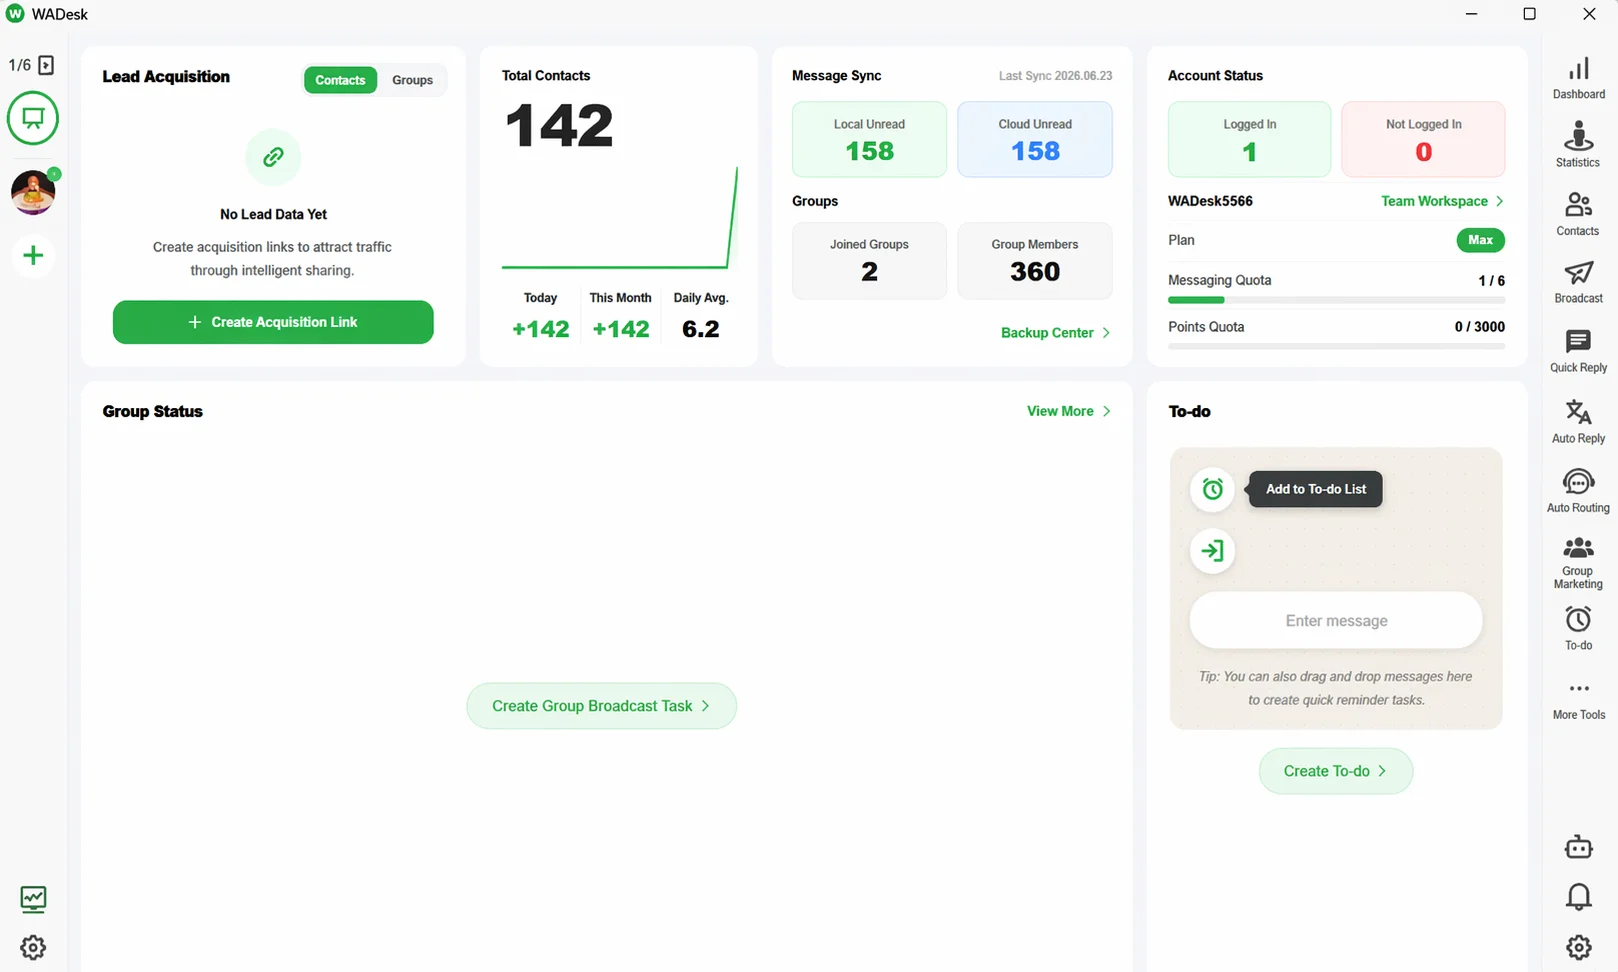
Left: Multi-account navigation bar displays avatars of all logged-in WhatsApp accounts.
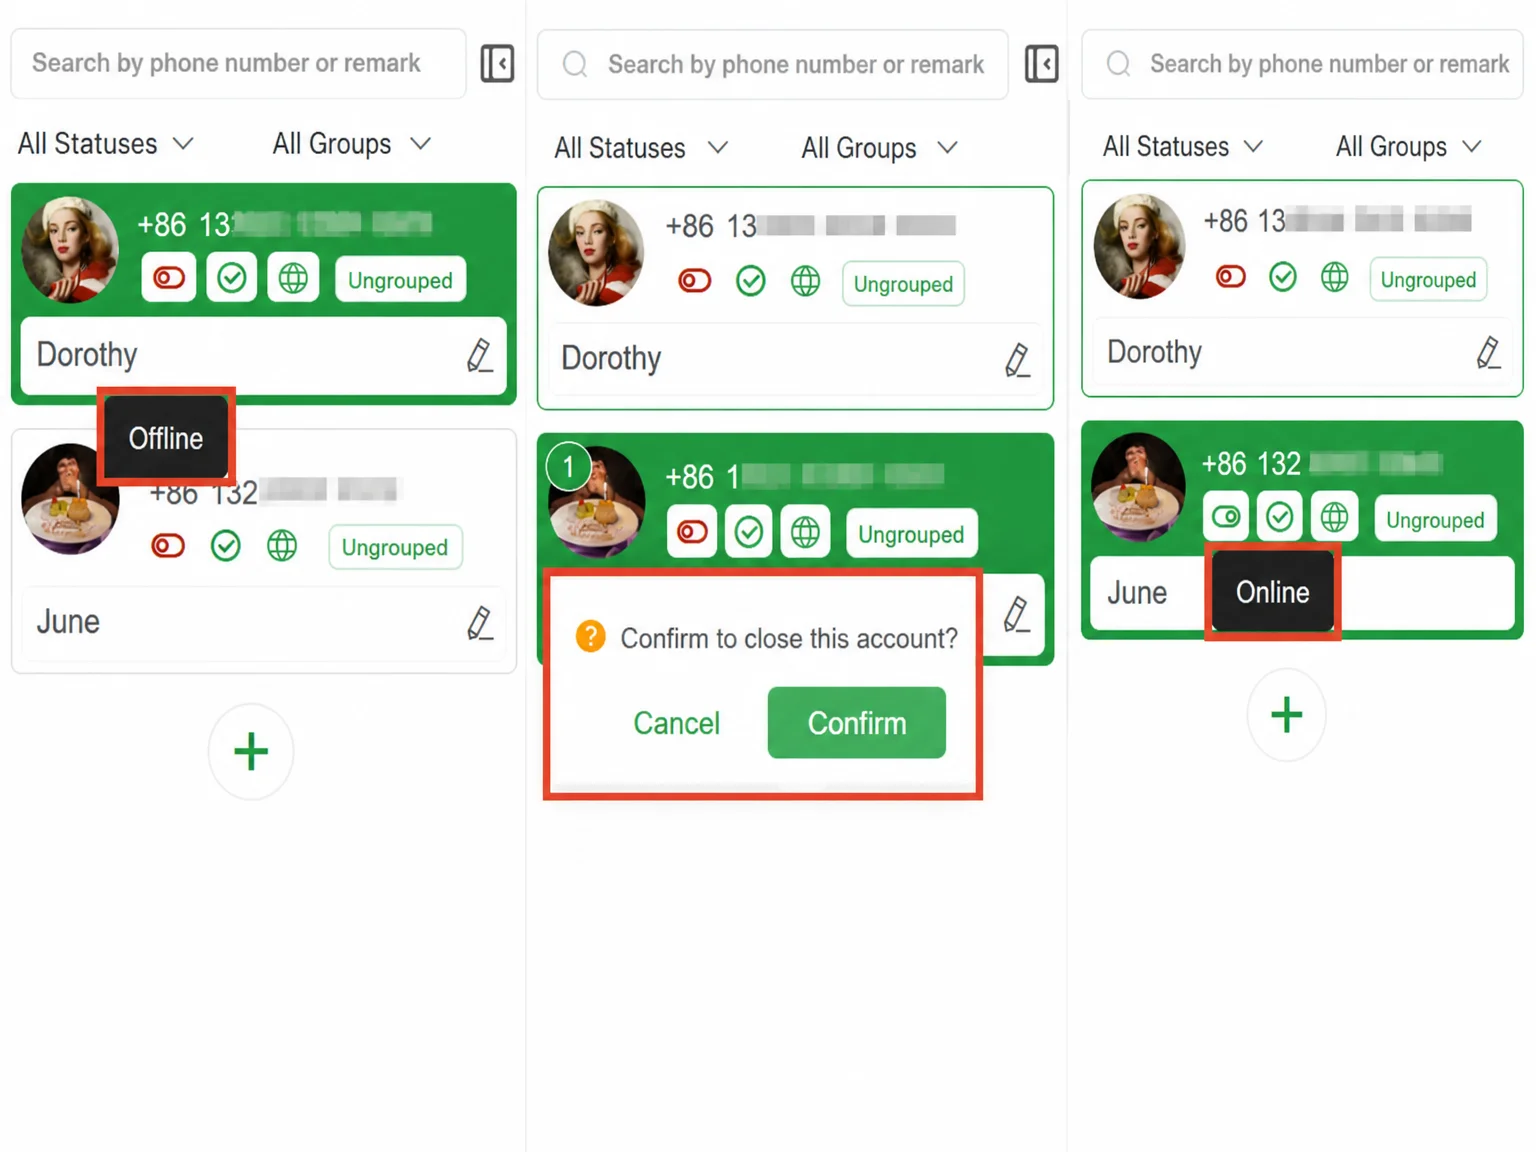
Click different avatars to switch accounts. Click the number at the top to expand the account list and view the status, groups, and notes of all accounts.
Center: Main workspace shows the Home Dashboard by default, including inbound lead data, total contact trends, message sync status, account health, and broadcast task status.
After clicking an account avatar on the left, the main workspace switches to that account's chat interface.
Right: Quick feature navigation bar shows persistent feature entries, from top to bottom: Inbound Lead Statistics, Leads, Contacts, Message Broadcast, Quick Reply, Auto Translation, Auto Reply, Community Marketing, Task Reminders.
System settings are at the bottom, where you can view your Plan, switch logged-in accounts, change the language, and configure Proxy.
Log into a WhatsApp Account
Open the Desktop Client, click + in the left account panel, scan the QR code as prompted, and log your WhatsApp account in.
If you have multiple WhatsApp accounts, repeat this step to add them all, then manage them all in one interface.
Send Your First Message
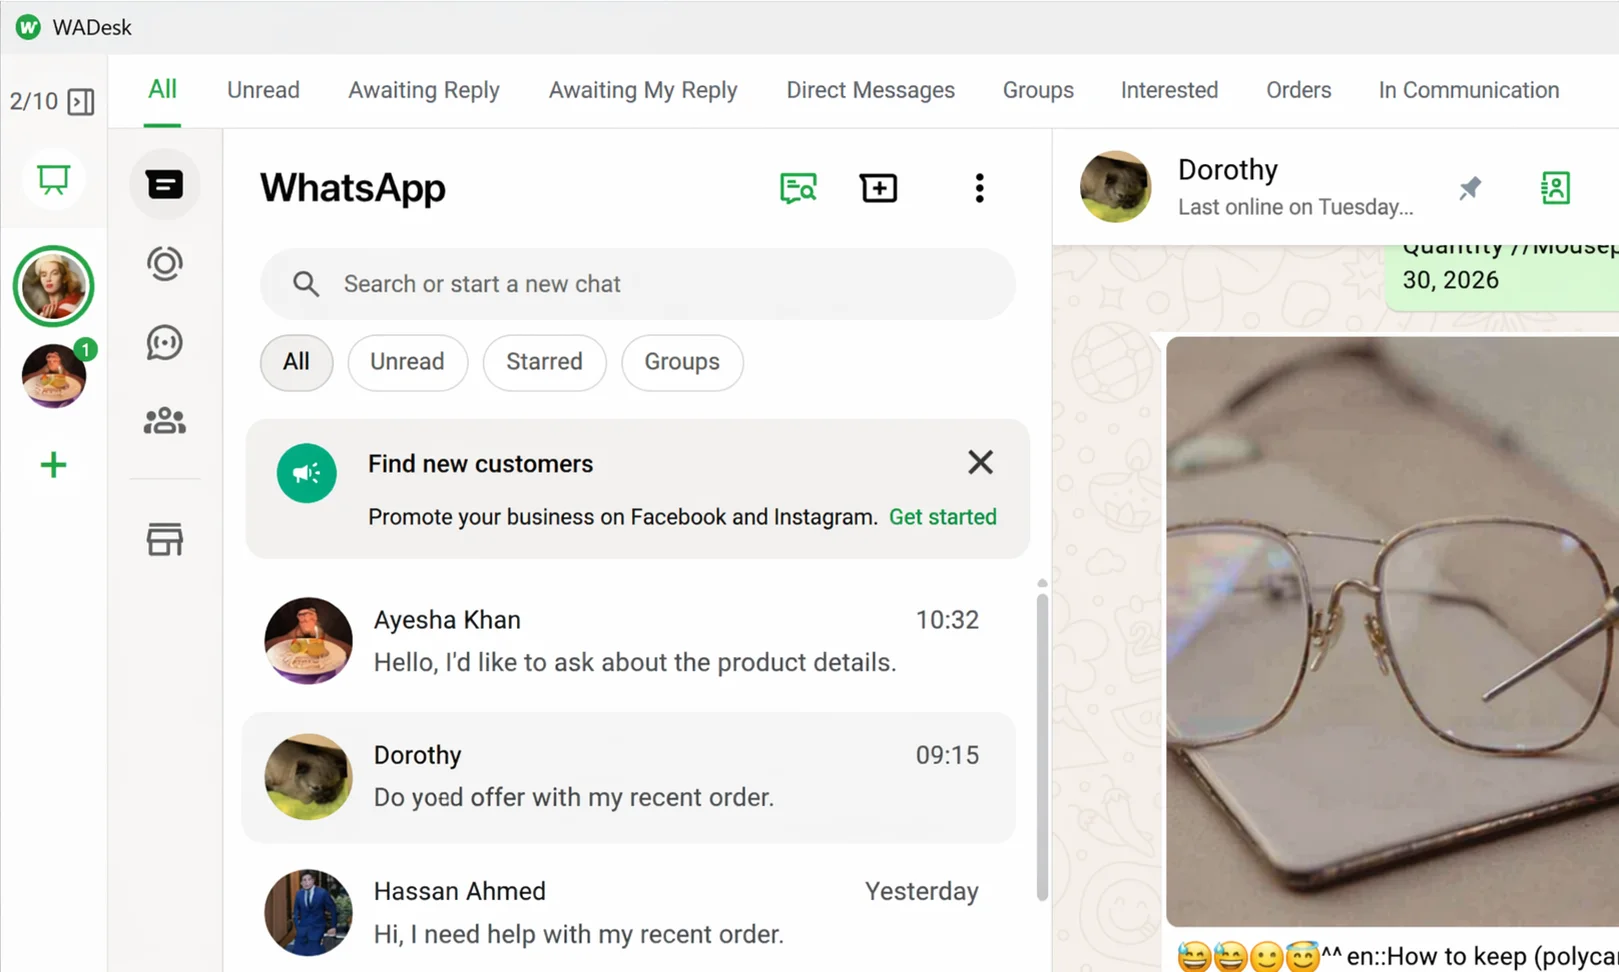
After logging in successfully, find the corresponding WhatsApp account in the left panel of the Desktop Client, click to enter the chat interface, and you can send and receive messages normally.
Features to Explore Next
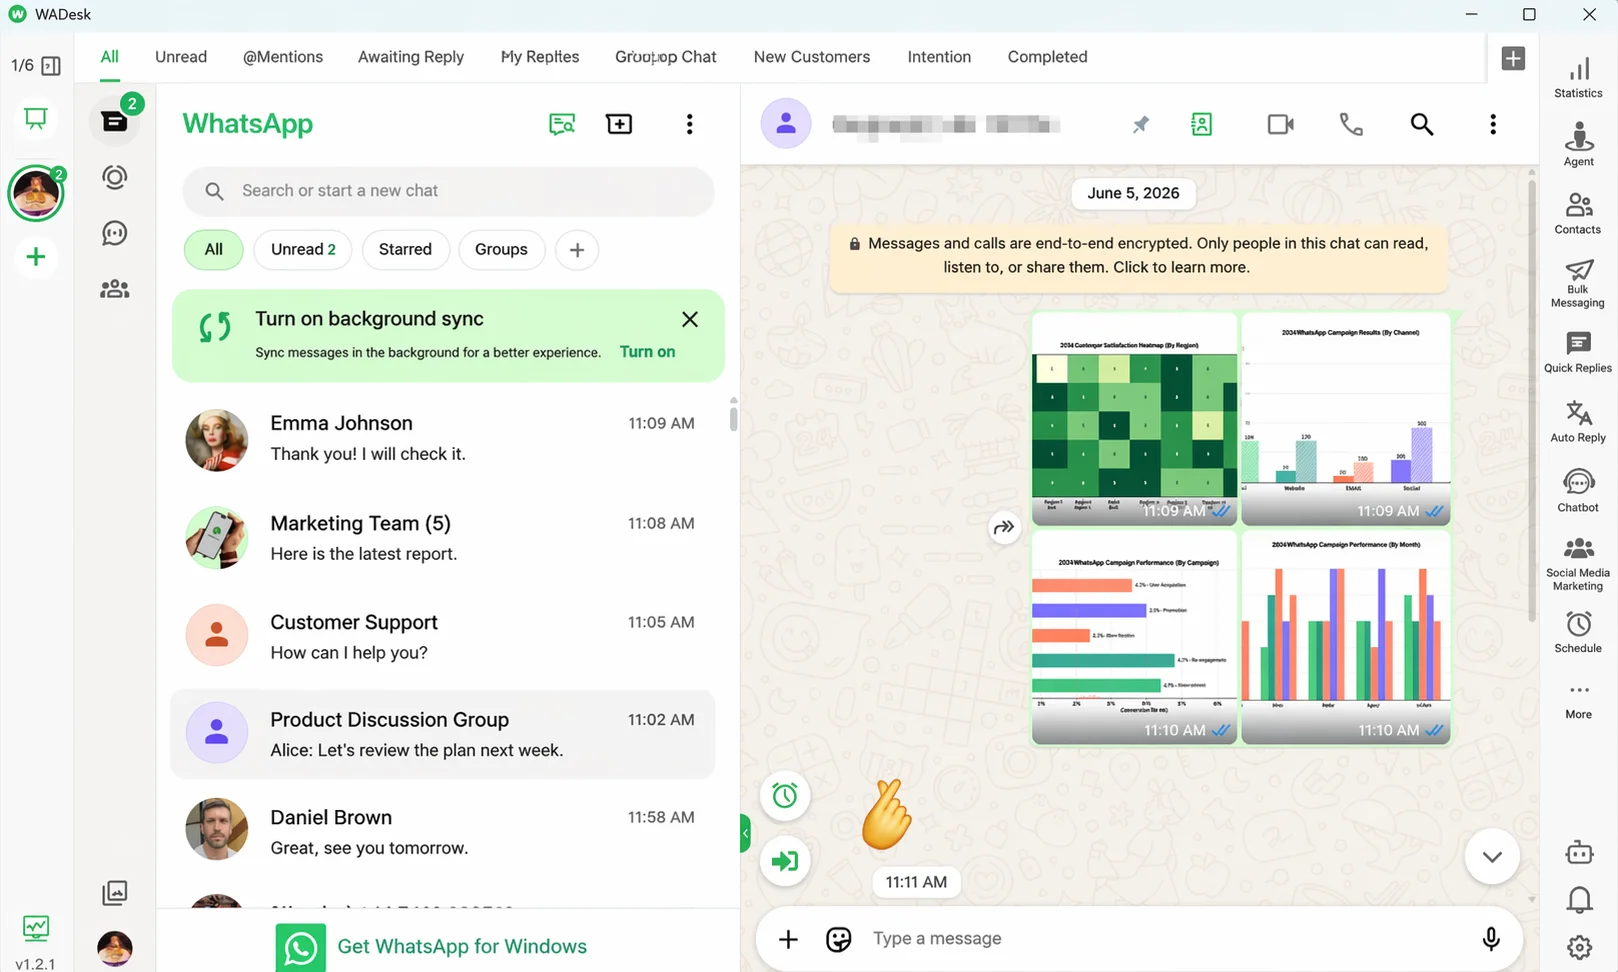
After completing the basic setup, the following features can help you work more efficiently:
Quick Reply: Save frequently used scripts and materials to the Script Library and send them with one click during chats — no need to retype each time. Supports both team shared and personal private Script Libraries.
Auto Reply: Configure keyword trigger rules or connect the AI Bot to let the system automatically handle common customer questions when you are offline, achieving 24/7 response.
Auto Translation: When enabled, incoming foreign-language messages are automatically translated and displayed in Chinese, and your replies can be automatically translated into the recipient's language — no need to switch any translation tool.
Lead Mining: Search for potential customers in WhatsApp groups by keyword, collect target numbers in bulk, and quickly expand your lead pool.
Important Notes
⚠ Do not log out of WhatsApp on your phone after QR scanning: Keep WhatsApp installed on your phone and connected to the internet periodically, otherwise the linked device will automatically disconnect.
FAQ
Q: After scanning the QR code, I get "Connection failed" or the QR code keeps refreshing. What should I do? A: This is usually a network issue. Check that your current network connection is working, and confirm that your Proxy IP can access WhatsApp services.
Q: I don't have a proxy — can I skip configuring one? A: Yes, but if you have more than 10 accounts we recommend configuring Proxy to ensure account safety.
Q: My account slots are insufficient — can I add more accounts? A: The number of account slots (ports) is determined by your Plan. To increase, Team plan users ask your admin to allocate more ports in Home; Individual plan users click System Settings at the bottom right → Contact Support.
Q: How do I add a note to an account for easy identification? A: In the left account list, hover over an account card, click the pencil icon that appears on the right, and edit the note inline.